Sharing One OAuth App Across Customer Organizations

If you're building a B2B SaaS product, you'll eventually have to figure out how your customers' users sign in. Your own team already signs in through an OAuth application registered in your O2ID tenant, and as new customers onboard it's tempting to just register another application per customer. That works fine for a handful of customers, and falls over well before you reach a hundred.
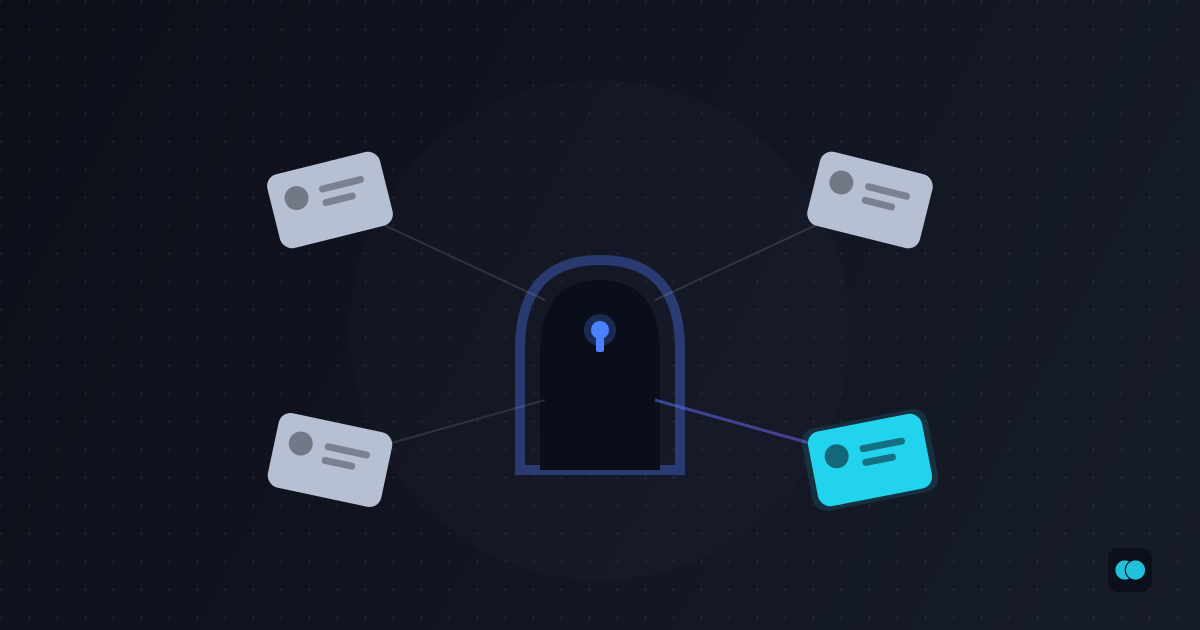
O2ID's answer is to let you share a single OAuth application with customer Organizations: each organization's users authenticate with their own credentials, and O2ID still issues tokens scoped entirely to that organization. That's what this tutorial sets up.
What you'll build
Acme runs a SaaS product called Acme Console, with its identity managed in an O2ID tenant with the slug acme. One of its customers, Globex Corp, has been onboarded as an Organization inside that tenant.
By the end of this tutorial:
- Acme will have a single OAuth application named Acme Console
- Globex will be allowed to use that application
- Globex users will authenticate with their own accounts
- O2ID will issue access tokens scoped to Globex, even though the application belongs to Acme
Globex never has to register an OAuth client of its own.
Before you begin
This tutorial assumes:
- O2ID is running locally on
http://localhost:8080 - You're already authenticated with
o2idctl jqis installed- You'll use oidcdebugger.com to complete the OAuth flow without writing any application code
"Acme" below is a stand-in for your own tenant — the one o2idctl is
already authenticated against, not a tenant you need to create. Every
/t/acme/... URL in this post should use your own tenant's slug instead.
If you haven't created one of your own, that's system — the tenant O2ID
bootstraps on first run. Set it once so every command below can just use
it:
TENANT=system # replace with your own tenant's slug, if you have one
Step 1: Create the application you'll share
First, create the OAuth application that both Acme employees and customer organizations will eventually use.
APP_JSON=$(o2idctl applications create \
  --name "Acme Console" \
  --callback-url https://oidcdebugger.com/debug \
  --scope users:read)

APP_ID=$(printf '%s' "$APP_JSON" | jq -r .id)
CLIENT_ID=$(printf '%s' "$APP_JSON" | jq -r .clientId)
We'll use:
APP_IDto share the application later.CLIENT_IDwhen starting the OAuth authorization flow.
We didn't provide a client secret — this application is a public client, authenticating with PKCE instead.
The callback URL points to oidcdebugger.com, which lets us exercise the OAuth flow entirely from the browser. In a real deployment, this would be your application's own callback endpoint.
Step 2: Create a customer Organization
Next, onboard one of Acme's customers.
o2idctl organizations create --slug globex --name "Globex Corp"
A freshly created Organization has no users of its own, so create Globex's first user directly, using your own Acme credentials:
o2idctl organizations switch globex

USER_JSON=$(o2idctl users create --email admin@globex.example --password Str0ngPassw0rd9)
USER_ID=$(printf '%s' "$USER_JSON" | jq -r .id)

ROLE_JSON=$(o2idctl roles create --name "Globex Admin" --scope users:read)
ROLE_ID=$(printf '%s' "$ROLE_JSON" | jq -r .id)

o2idctl users assign --user "$USER_ID" --role "$ROLE_ID"

o2idctl organizations switch
organizations switch only changes which path these commands address — it
keeps using your existing Acme credentials throughout. Running these
commands against Globex's own path with those credentials works because
your Acme admin role holds organizations:manage, which authorizes every
request at every descendant Organization (see Organizations — Delegated
administration). No
separate login, application, or credentials of your own are needed to
create them.
The role matters, not just the user: a signed-in user with no role has no
scopes at all, so users:read — the scope Acme Console asks for — would
get silently dropped from consent and every token issued to them, no
matter what's requested. See Managing Roles for
more on how roles and scopes work.
At this point, Globex has a user (with a role) but no OAuth application of its own.
Step 3: Share the application
Now allow Globex to use Acme Console.
o2idctl applications share "$APP_ID" --policy selective --organizations globex
That's all that's required. --policy selective shares with exactly the
Organizations named by --organizations (a comma-separated list, for more
than one); --policy all (no --organizations needed) shares with every
current and future Organization at once instead.
Sharing doesn't create another OAuth client. Instead, it grants Globex permission to use the existing application through Globex's own OAuth endpoints.
You can verify the current shares using:
o2idctl applications get "$APP_ID"
which includes the application's current sharing state — its policy, and which Organizations it's shared with — directly in the response.
Step 4: Sign in as a Globex user
Print the Authorize URI you'll need, with $TENANT already substituted:
echo "http://localhost:8080/t/$TENANT/org/globex/oauth2/authorize"
Open https://oidcdebugger.com and configure the following values.
| Field | Value |
|---|---|
| Authorize URI | the URL printed above |
| Client ID | $CLIENT_ID |
| Redirect URI | https://oidcdebugger.com/debug |
| Scope | openid users:read |
| Response Type | code |
| Use PKCE | ✓ Enabled |
Click Send Request.
Because you're not signed in yet, O2ID redirects you to Globex's login page.
Sign in using the administrator created earlier:
Email:    admin@globex.example
Password: Str0ngPassw0rd9
After authentication, you're redirected back to oidcdebugger with an authorization code.
Now enter the Token URI — print it the same way:
echo "http://localhost:8080/t/$TENANT/org/globex/oauth2/token"
Exchange the authorization code.
You should receive a response similar to:
{
  "access_token": "...",
  "token_type": "Bearer",
  "expires_in": 3600,
  "scope": "openid users:read",
  "id_token": "..."
}
You've just signed into Acme Console as a Globex user, through an OAuth application Globex never had to register.
Step 5: Verify the issued token
Introspect the access token (see Token Introspection) and check who it belongs to: Globex's administrator, not an Acme user.
Even though the OAuth application belongs to Acme, the access token is:
- issued at Globex's organization endpoint
- scoped to Globex
- authorized as a Globex user
This separation is what allows one application to safely serve many customer organizations.
Automating the same flow
The previous section used a browser so you could see the authorization flow happen. For automated testing or CI pipelines, the same flow works entirely with curl.
CODE_VERIFIER="a-random-verifier-at-least-43-characters-long"
CODE_CHALLENGE=$(printf '%s' "$CODE_VERIFIER" | openssl dgst -sha256 -binary | base64 | tr '+/' '-_' | tr -d '=')

# 1. Log in as Globex's administrator.
curl -s -c cookies.txt -X POST \
  "http://localhost:8080/t/$TENANT/org/globex/login" \
  --data-urlencode "email=admin@globex.example" \
  --data-urlencode "password=Str0ngPassw0rd9" \
  -o /dev/null -D -

# 2. Start the authorization request.
LOCATION=$(curl -s -b cookies.txt -o /dev/null -D - \
  --get "http://localhost:8080/t/$TENANT/org/globex/oauth2/authorize" \
  --data-urlencode "response_type=code" \
  --data-urlencode "client_id=$CLIENT_ID" \
  --data-urlencode "redirect_uri=https://oidcdebugger.com/debug" \
  --data-urlencode "scope=openid users:read" \
  --data-urlencode "code_challenge=$CODE_CHALLENGE" \
  --data-urlencode "code_challenge_method=S256" \
  | grep -i '^location:')

CODE=$(printf '%s' "$LOCATION" | sed -n 's/.*[?&]code=\([^&[:space:]]*\).*/\1/p')

# 3. Exchange the authorization code.
curl -s -X POST \
  "http://localhost:8080/t/$TENANT/org/globex/oauth2/token" \
  --data-urlencode "grant_type=authorization_code" \
  --data-urlencode "code=$CODE" \
  --data-urlencode "client_id=$CLIENT_ID" \
  --data-urlencode "redirect_uri=https://oidcdebugger.com/debug" \
  --data-urlencode "code_verifier=$CODE_VERIFIER"
The resulting access token is identical to the one obtained through the browser flow.
Cleaning up
If you no longer want Globex to use Acme Console, remove the application share.
o2idctl applications unshare "$APP_ID" --organizations globex
Removing the share prevents future sign-ins through that application. Existing access tokens continue to work until they naturally expire.
What you learned
In this tutorial you:
- created an OAuth application
- onboarded a customer Organization, and gave it its first user without a separate login of your own
- shared the application with that Organization
- authenticated as one of the Organization's users
- verified that O2ID issued a token for the Organization rather than the parent tenant
This pattern lets a single application securely serve many customer organizations without creating a separate OAuth client for each one.
To explore further:
- Organizations — Delegated administration covers
organizations:managein full — the scope that let you create Globex's first user in Step 2 with no account of your own at Globex. - Organizations — Shared applications explains
--policy all(sharing with every current and future Organization at once) and restricting permissions with--scope. - Organizations — Grants covers a related feature that allows individual users—not applications—to act in another Organization using an Organization switch grant.